Enable targeted email campaigns for your business through the AnswerForce integration with Mailchimp. A friendly virtual receptionist will record the caller’s email address and automatically export this information directly into your Mailchimp account. It is that easy.
How does AnswerForce integrate with Mailchimp?
Step 1
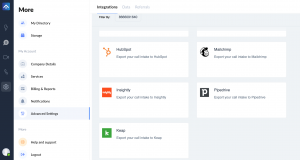
Log into the AnswerForce app. Select ‘Manage Account’. Then click ‘Advanced Settings’.
Select ‘Mailchimp’ from the integration options.
Step 2
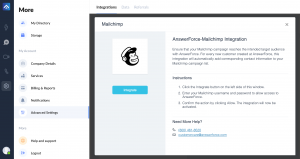
Click the blue ‘Integrate’ button.
Step 3
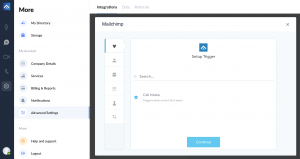
Next, you’ll see a trigger selection step. Select the most suitable option, then click ‘Continue’.
Step 4
Click on ‘+connect’ to connect your Mailchimp account. A pop-up will appear. Enter your Mailchimp username and password. Then click ‘Grant Access’ for AnswerForce.
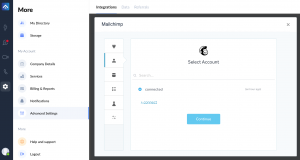
Step 5
Set up an action.
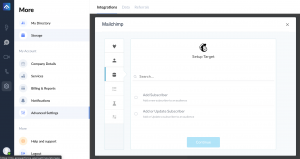
Step 6
Select the audience in Mailchimp where contacts will be exported.
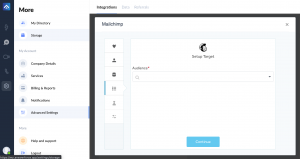
Step 7
Map the AnswerForce fields to the corresponding Mailchimp attributes, then click ‘Continue’.
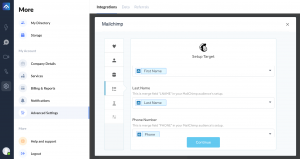
Step 8
You can test the integration on the next page. To do so, simply click ‘Test’. This step is optional.
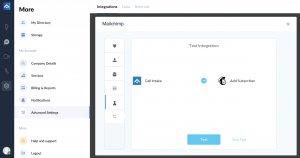
Step 9
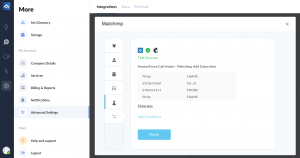
When the test is successful, you’ll see the screen below. To complete the process, click ‘Finish’.
