Step 1
Select ‘Autotask’ from the integration options.

Step 2
On Selecting Autotask, you will see this screen. Click on the ‘Integrate’ button on the left.

Step 3
This is a Trigger Selection Step. Select the most suitable option, and click continue.

Step 4
You will see a popup, where you need to enter your username & password. This is an Autotask Account Adding Step. Once done, click ‘Continue’.

Step 5
It will again go to the account list. Here, you can see the recently added account. You can also rename the account. When you click continue, you’ll be sent to Autotask’s module selection area. Select the ‘Create Ticket’ module, and then click ‘Continue’.

Step 6
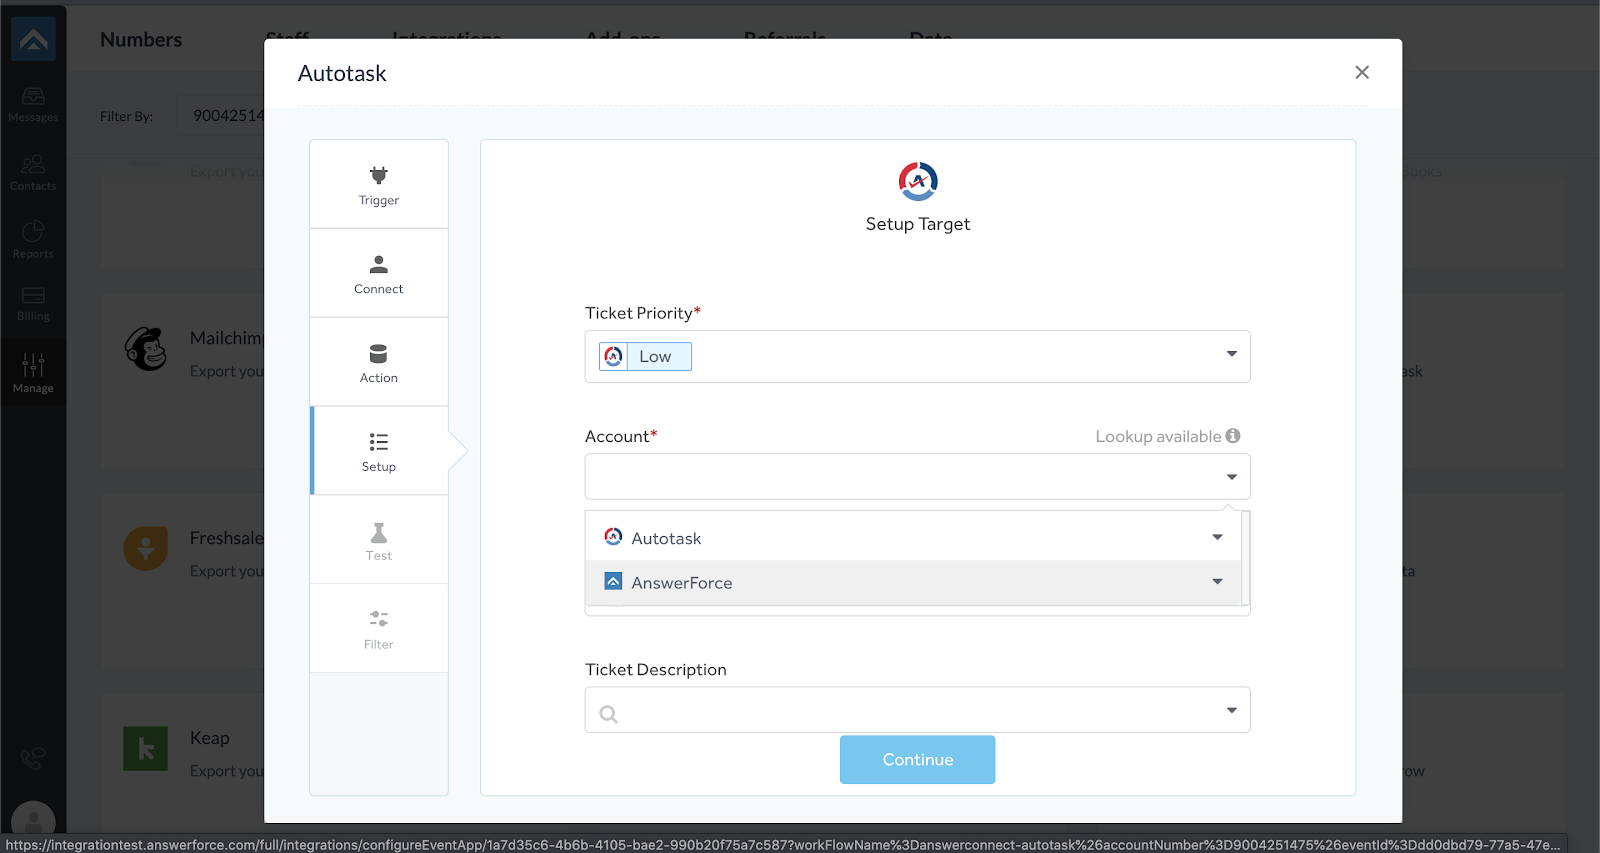
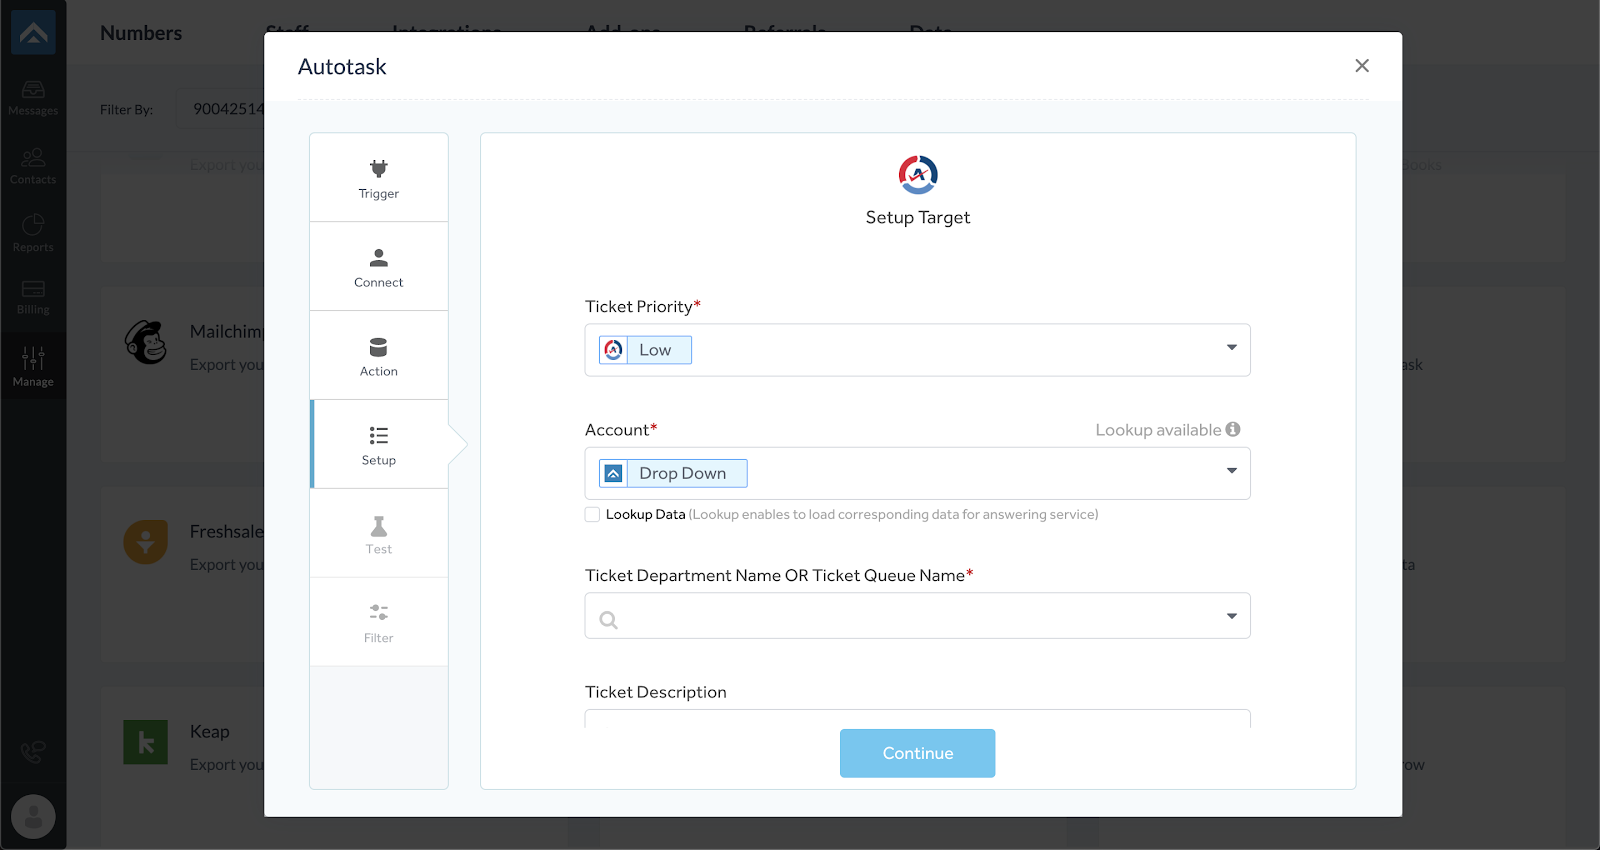
You will be taken to the mapping Setup window. This is a provision to choose what value should be there in Autotask fields, whenever we do call intake.

How to setup mapping for the ‘account’ field
Choose Answerforce from the dropdown menu.

Choose the field which is configured as ‘dropdown’ in script end

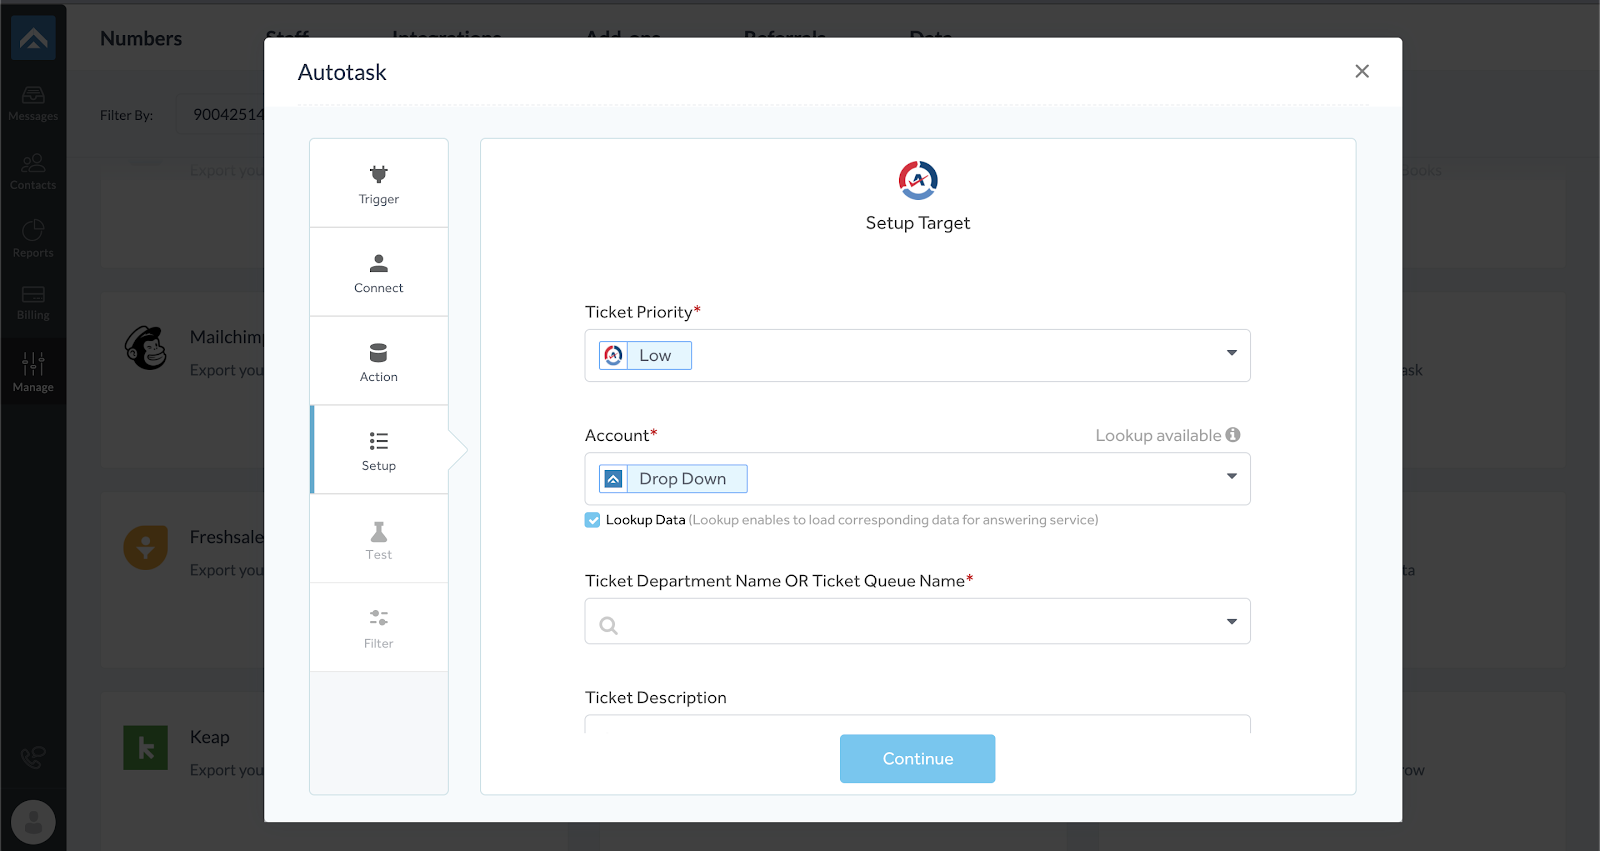
Check the box for Lookup data. Enabling the lookup will ensure that, whenever we do call Intake, under the configured dropdown field, we will list the actual accounts that belong to Autotask. And in, call intake dynamically we can choose the accounts.
Then, click on ‘Continue’.

Step 7
Click on the ‘Test’ button to test the integration.

Step 8
When the test is successful, it will land on finishing the setup screen. To complete the process, click on the ‘Finish’ button.
